
I was skeptical about this fan— I was wrong- it works really well and I am happy I paid what I paid and I’m looking forward to using it all summer long.
The front derailer broke in a month and a half after only a handful of rides and now it's useless. It's 2 weeks out of the return policy and all I want is the part replaced so my son has a bike for the summer.
12000 BTU makes this tabletop propane BBQ griddle a winner - Great for grillin’
I love this fan! The air circulation is fantastic & really helps keep a room comfortable. Unfortunately, my blade broke recently & I couldn’t find a replacement. I reached out to customer service to purchase a new blade, but they messaged back that they would send me a new one, at no cost. Imagine my surprise when a whole new fan showed up! Fantastic customer service. 10/10
I bought this bike for my daughter for Easter- one tire arrived flat, no bid deal...put air in it and it doesn't hold air. Emailed customer service and they won't help since the purchase was made through Target and they won't honor their warranty- even though Hykolity shipped it directly to my home. Buyer beware the lack of service you'll receive after getting a subpar item.
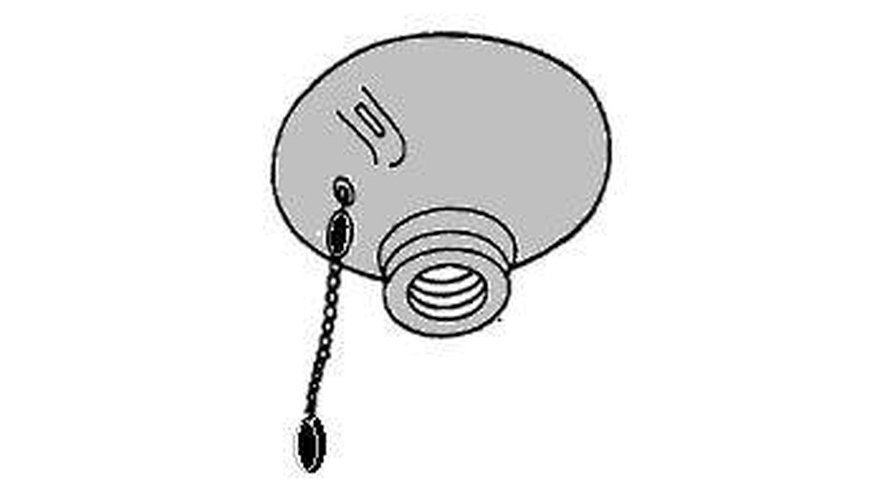
Trying to udjust manually then the blade touched the frame and it broke. I cant even find where to buy a fan blade replacement.
Our right bike pedal did not screw in properly, seemed like a bent bolt. It could have been damaged before or after use. Either way, we called and we received a quick response and helpful resolution to the issue. Thank you!
I had it for a month and bumped into it in the middle of the night and the blade broke! I have emailed them trying to get a replacement blade and they continue to ignore me!
I have not found the type or volume of snow that this piece of garbage can handle. Every time I try to use it I have to abandon and shovel by hand. It has no horsepower. I would get better results if I strapped a plow to a remote control car. Please avoid this.
THIS BIKE IS SO GOOD. I TRADED THIS BIKE TO SURRONSTER FOR A SURRON LBX AND IT WAS THE BEST THING EVER!